
手順
- ユーザー定義変数を設定する(Googleタグマネージャー管理画面)
- タグを追加する(Googleタグマネージャー管理画面)
- 動作確認をする(Googleタグマネージャー管理画面)
ユーザー定義変数を設定する(Googleタグマネージャー管理画面)
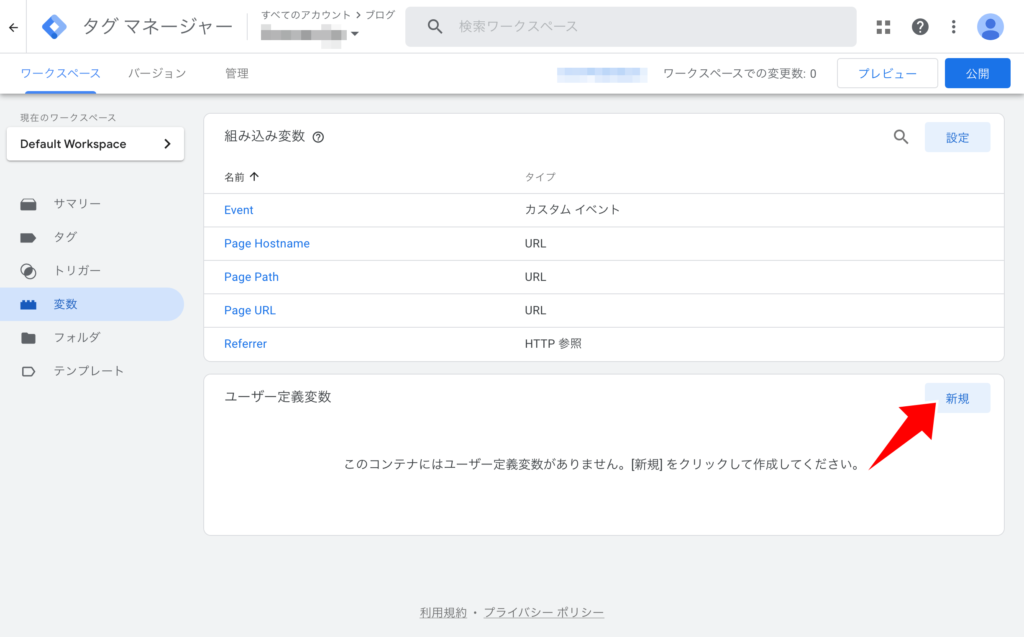
Googleタグマネージャー管理画面で左側のメニューにある変数をクリックします。ユーザー定義変数の欄にある新規ボタンをクリックします。
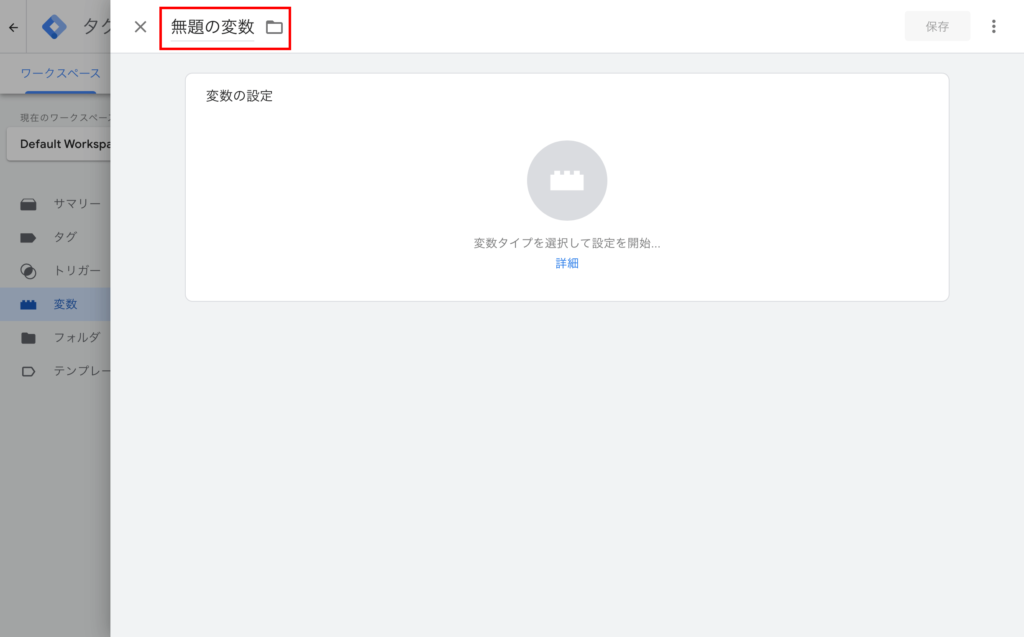
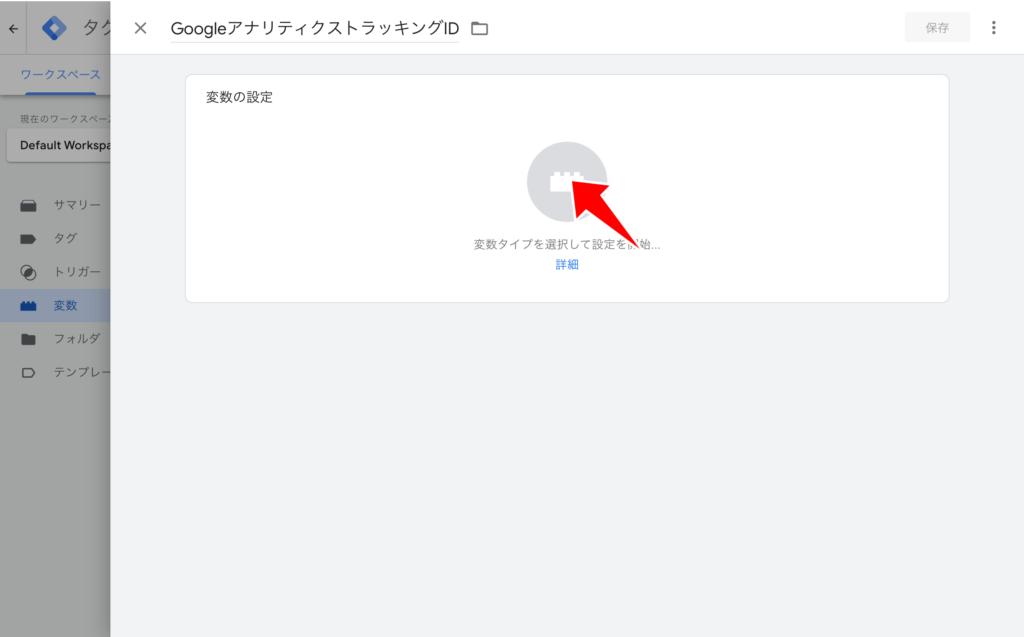
無題の変数のテキストをわかりやすい名称に変更します。ここでは、GoogleアナリティクストラッキングIDを入力します。
設定を開始するために変数の設定エリアをクリックします。
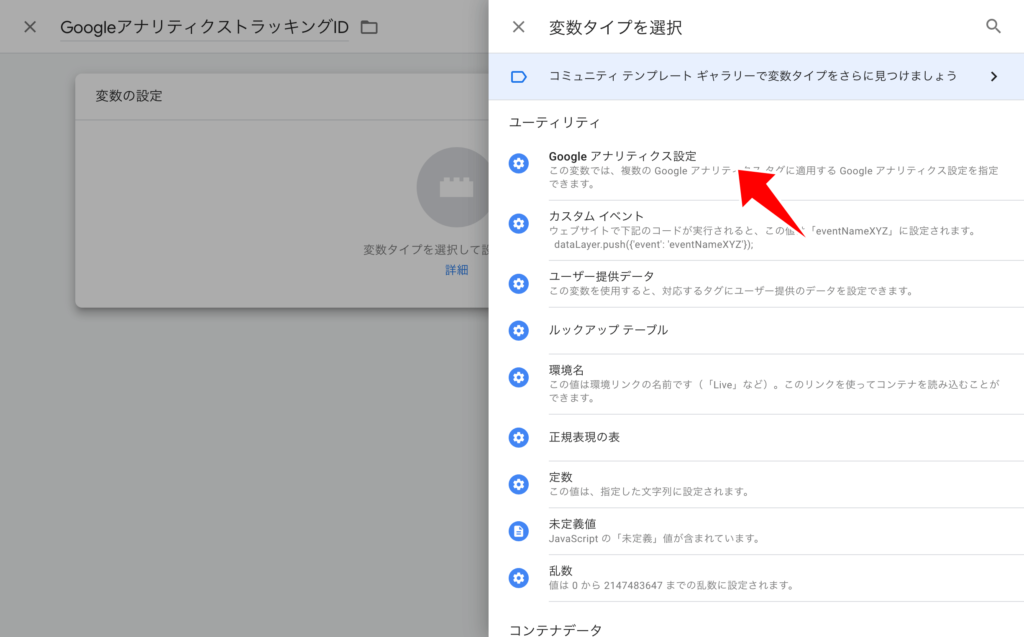
右側から変数タイプを選択が表示されます。下へスクロールしていき、ユーティリティにあるGoogleアナリティクス設定をクリックします。
変数の設定欄の表示が変わります。トラッキングIDにGoogleアナリティクスのトラッキングIDを入力します。
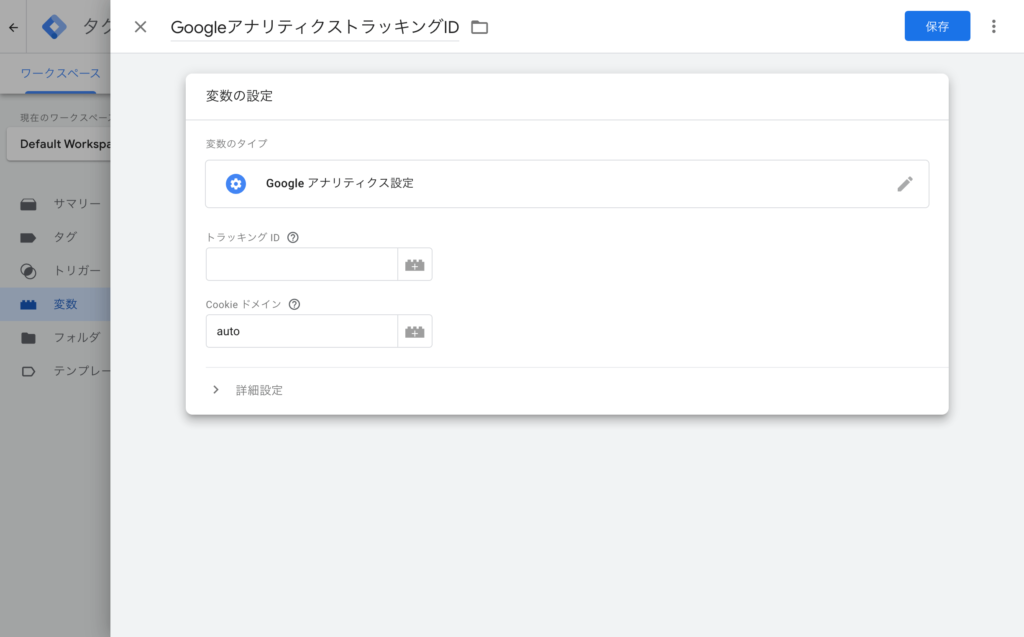
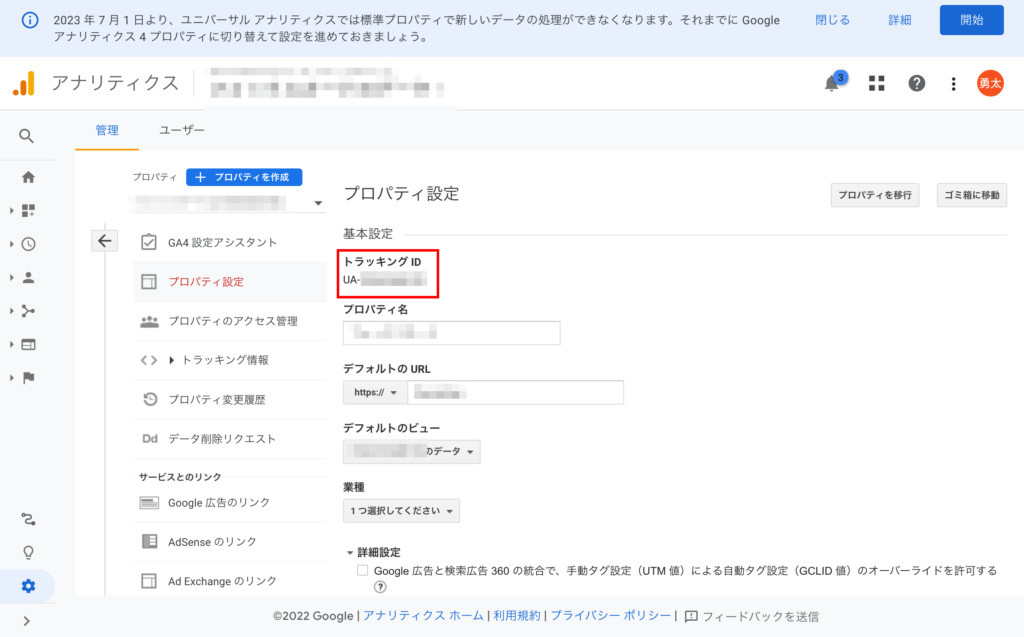
トラッキングIDは、Googleアナリティクスのプロパティ設定より確認が行えます。
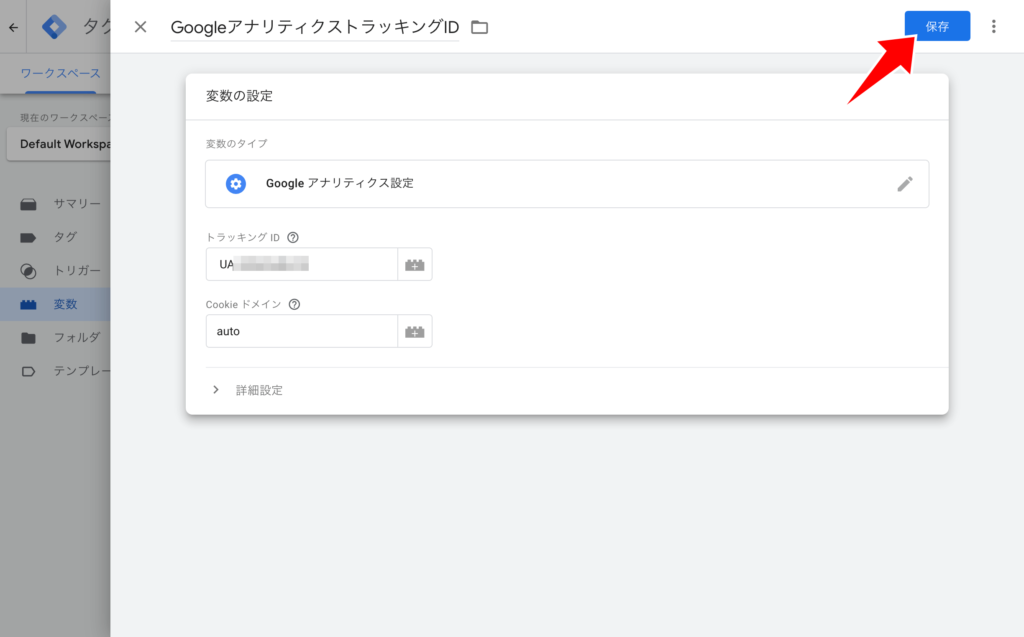
トラッキングIDを入力したら、右上にある保存ボタンをクリックします。これでユーザー定義変数を設定は完了です。
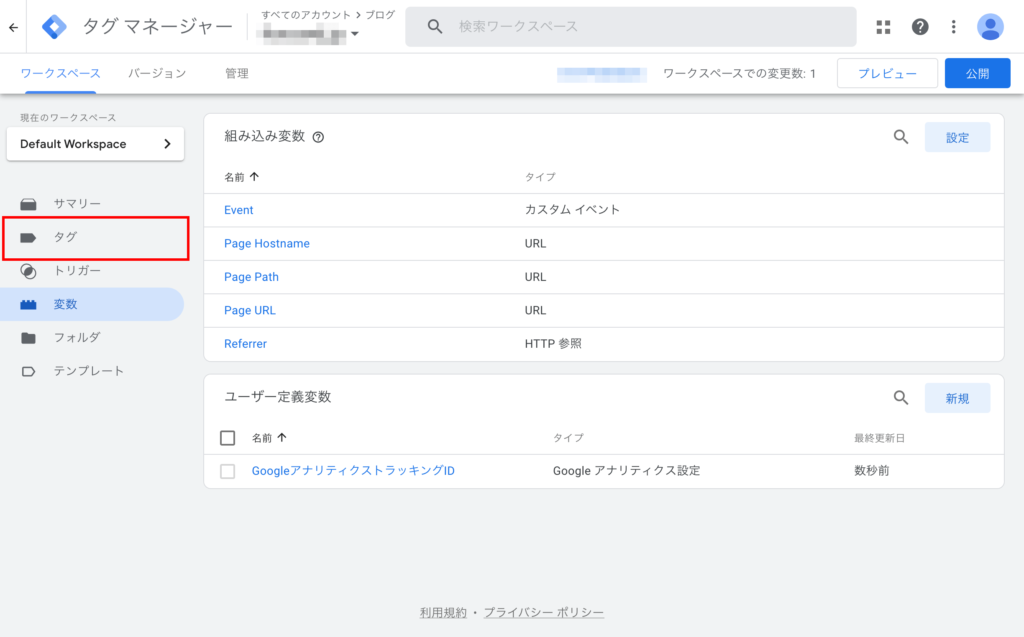
タグを追加する
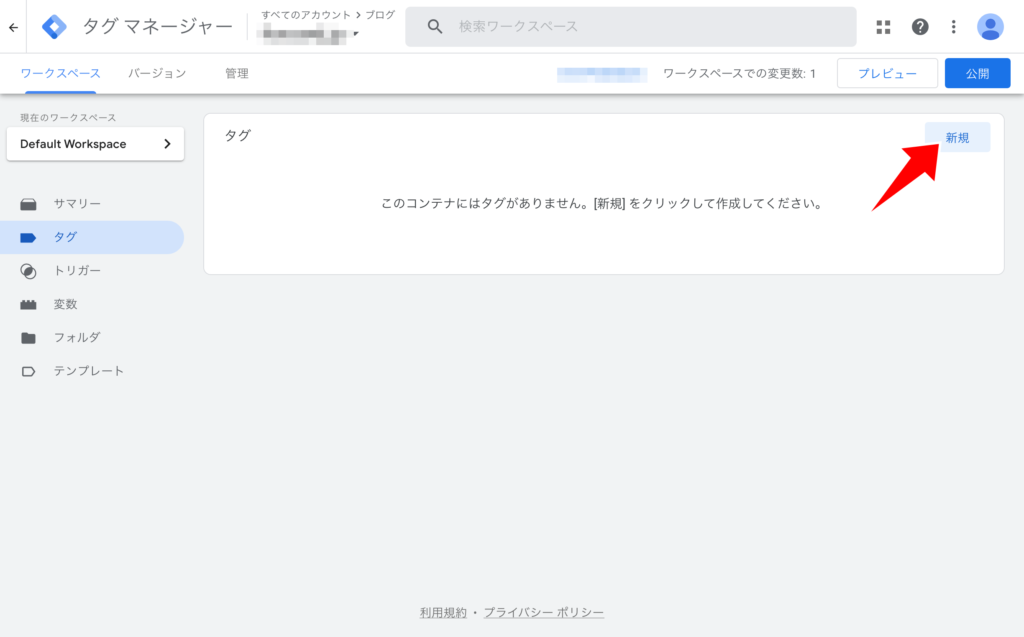
Googleタグマネージャー管理画面で左側のメニューにあるタグをクリックします。
タグの欄にある新規ボタンをクリックします。
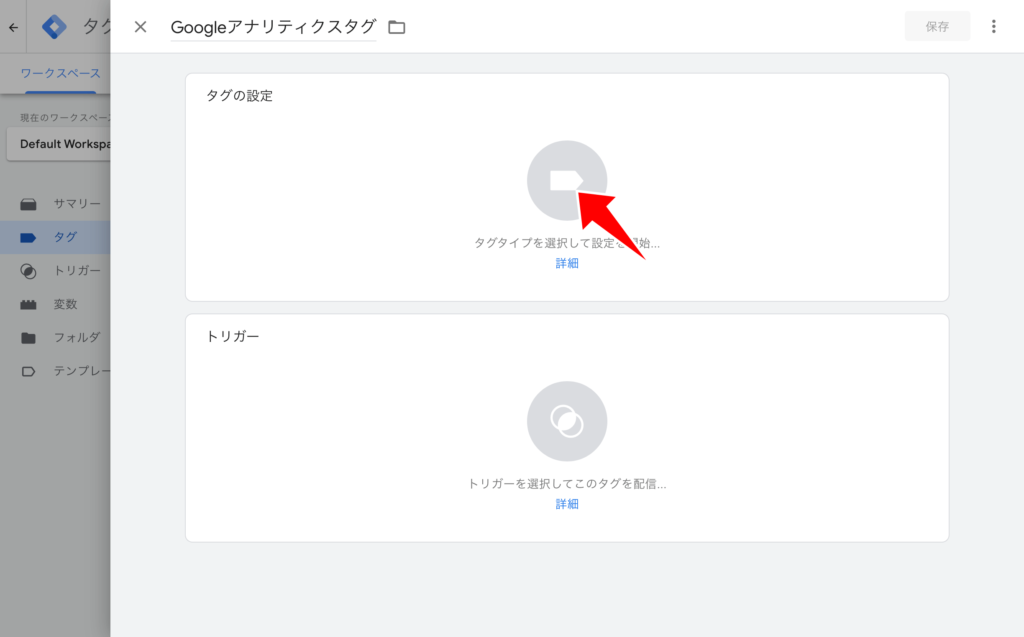
名前のないタグのテキストをわかりやすい名称へ変更します。ここではGoogleアナリティクスタグにします。
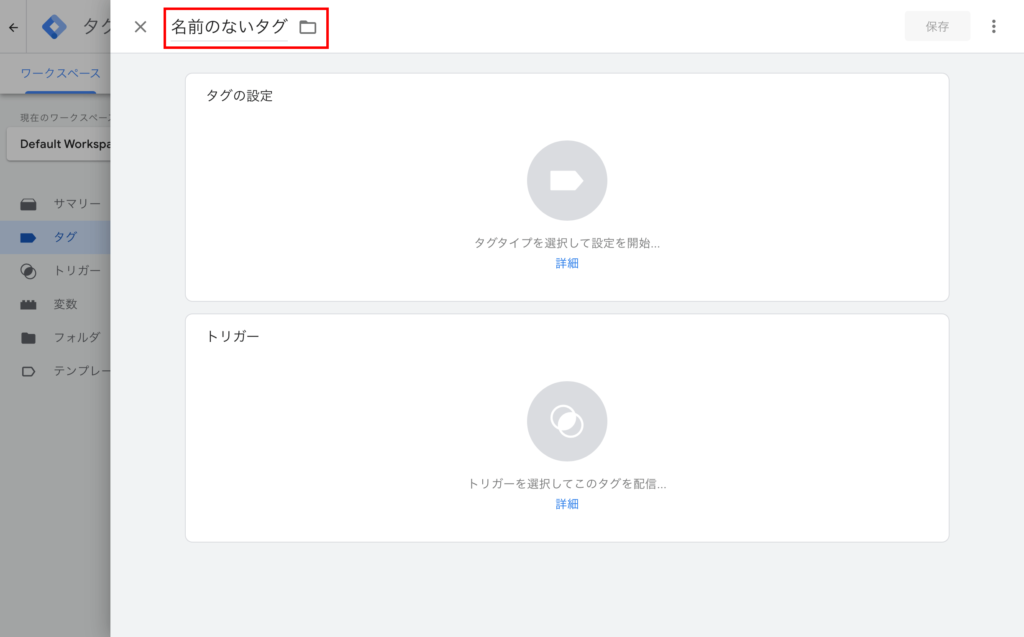
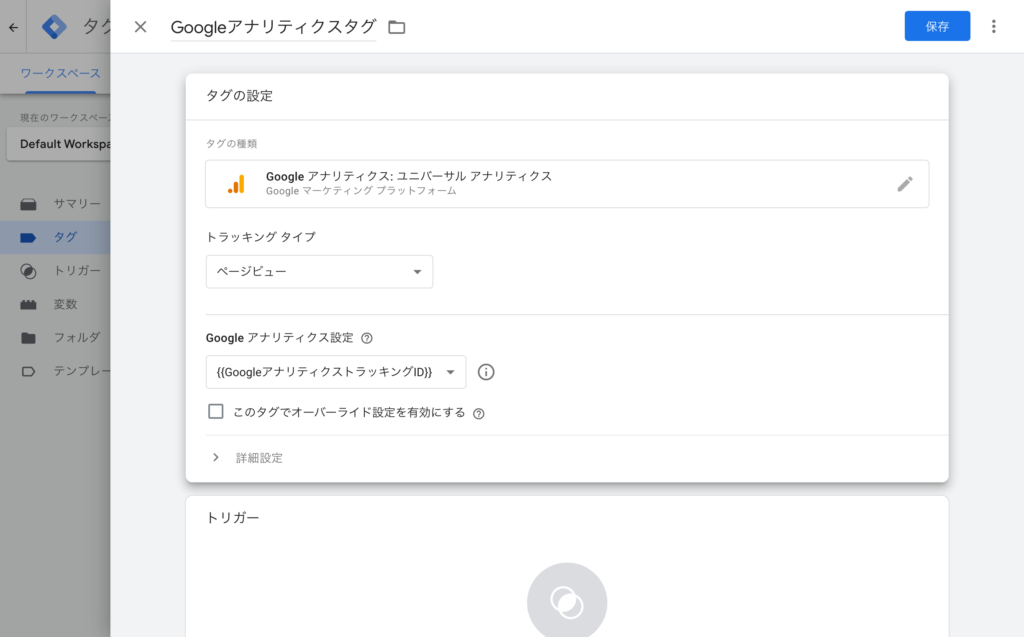
続いて、タグの設定を行います。タグの欄をクリックします。
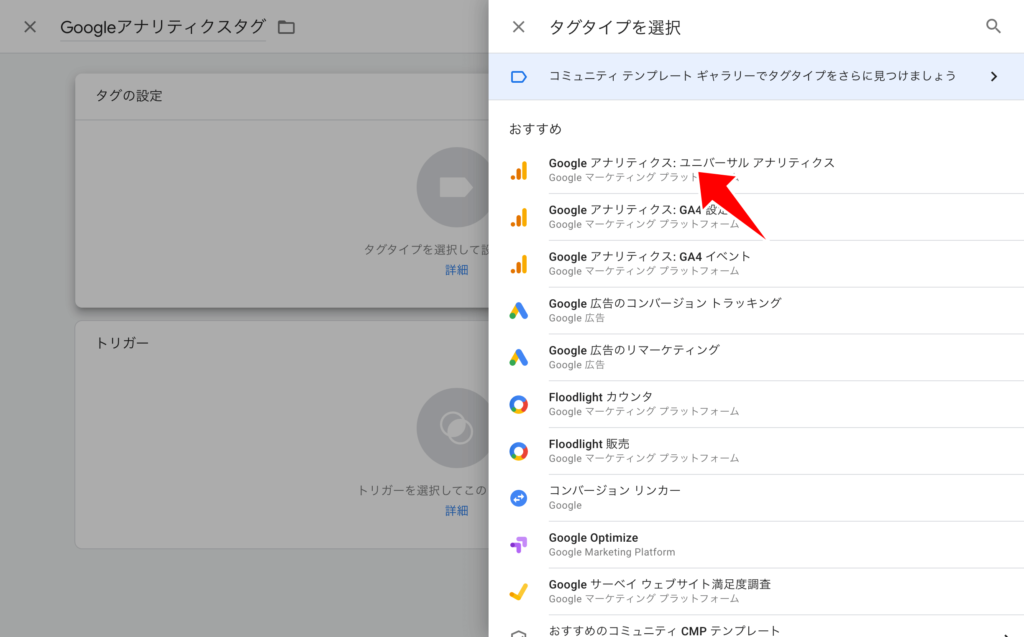
タグタイプの選択が表示されます。項目からGoogleアナリティクス: ユニバーサルアナリティクスをクリックして、選択します。
タグの設定画面に戻ります。Googleアナリティクス設定を設定するためにプルダウンよりGoogleアナリティクストラッキングIDを選択します。この名称はさきほどの「ユーザー定義変数を設定する」で入力した名称が表示されます。
トリガーの設定を行います。トリガーの欄をクリックします。
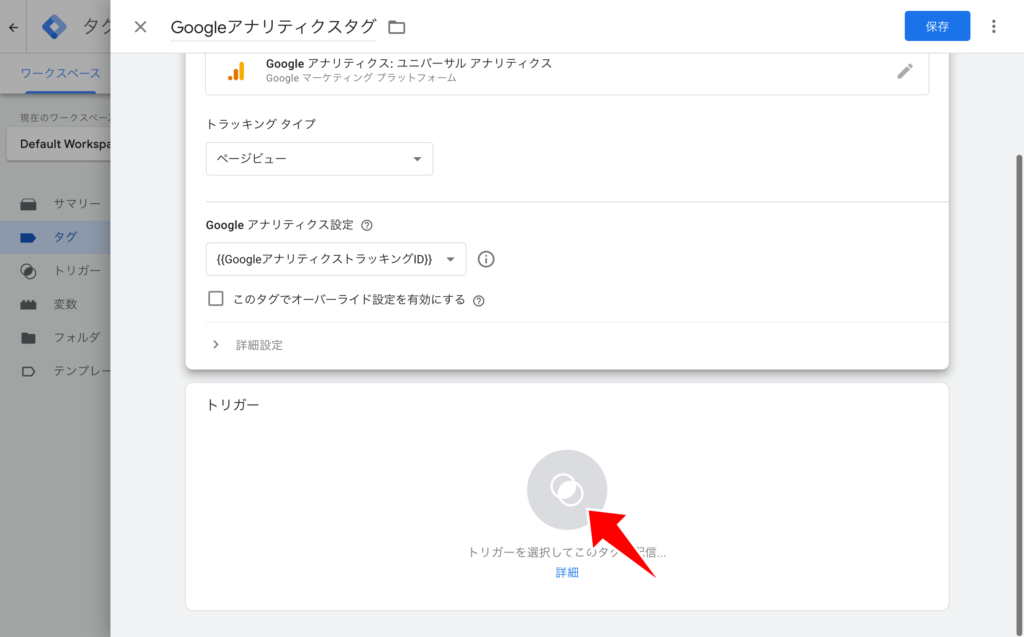
トリガーの選択が表示されます。All Pagesを選択します。

保存をクリックします。
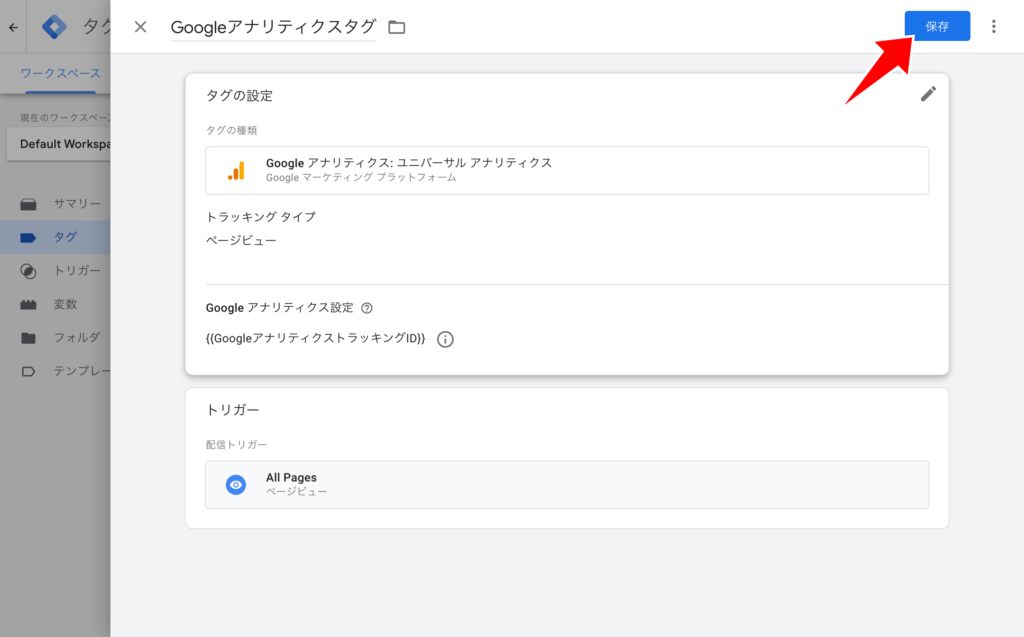
するとタグの追加画面へと戻ります。これでタグの追加は完了です。
動作確認をする
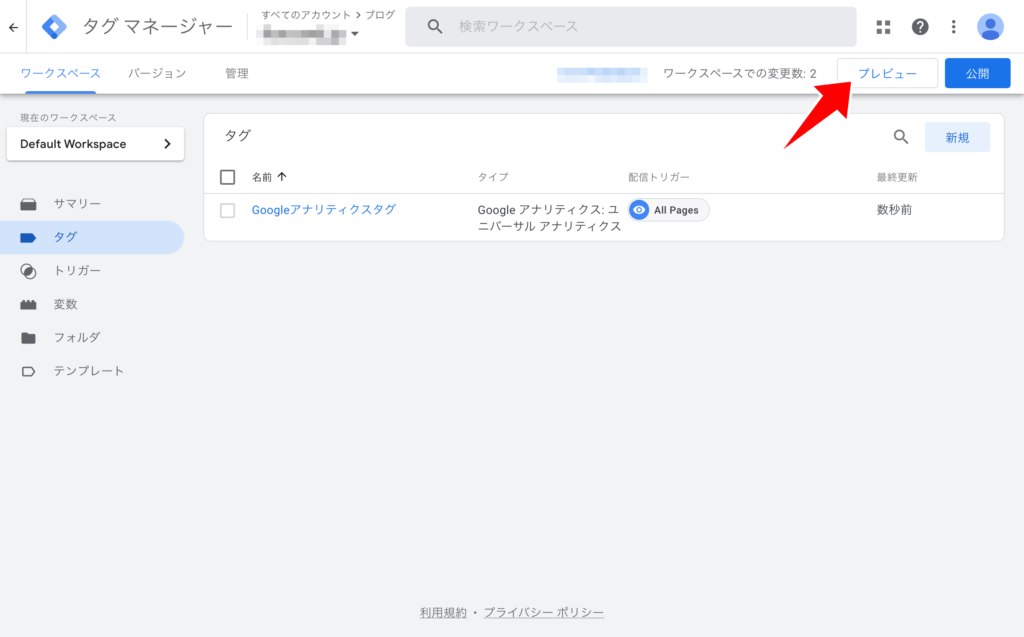
動作確認のため、プレビューをクリックします。
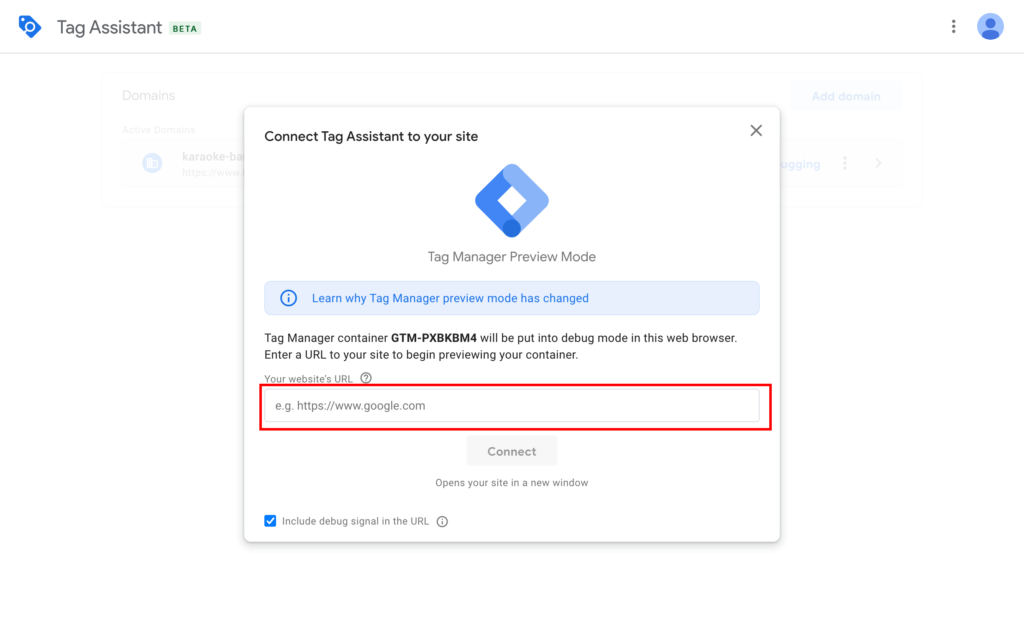
「Connect Tag Assistant to your site」とポップアップが表示された場合は、タグを設置してあるWordPressサイトのURLを入力し、Connectをクリックします。
すると、新規タブでWordPressサイトが表示されます。
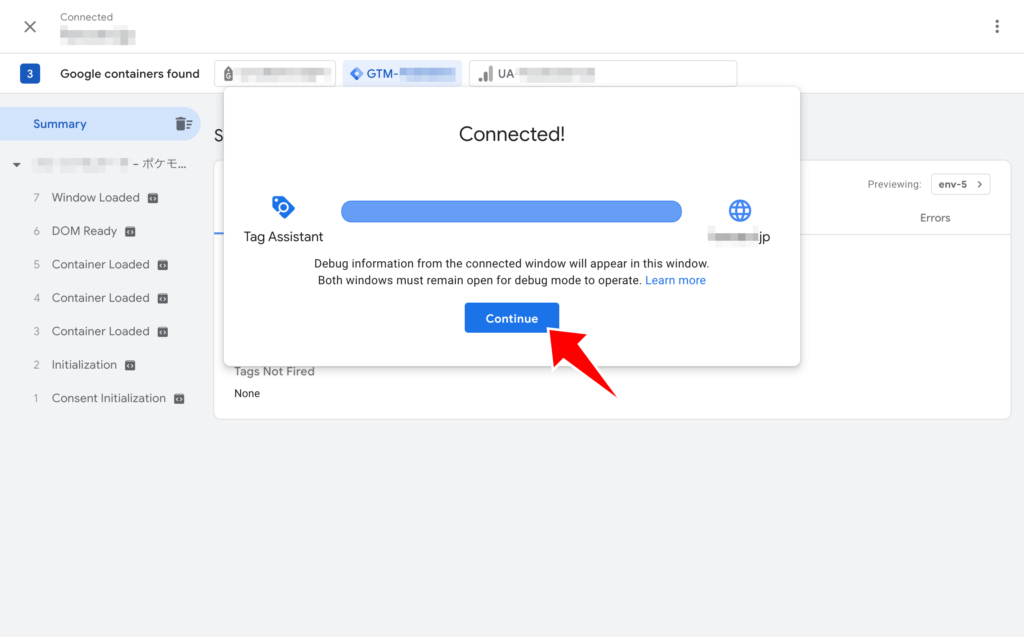
元のタブに戻るとContinueと表示されているので、Continueをクリックします。
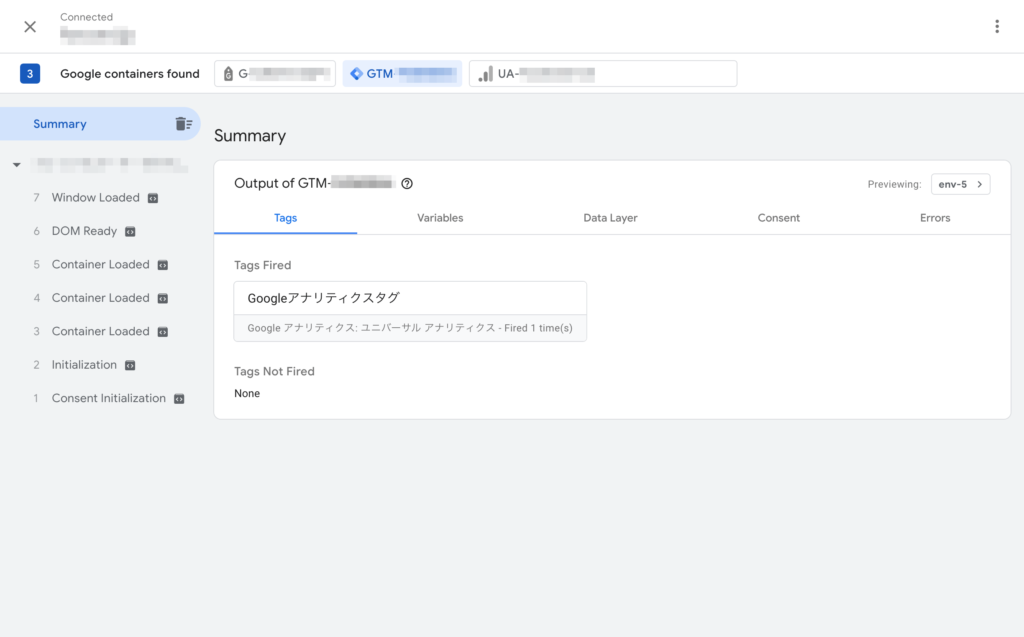
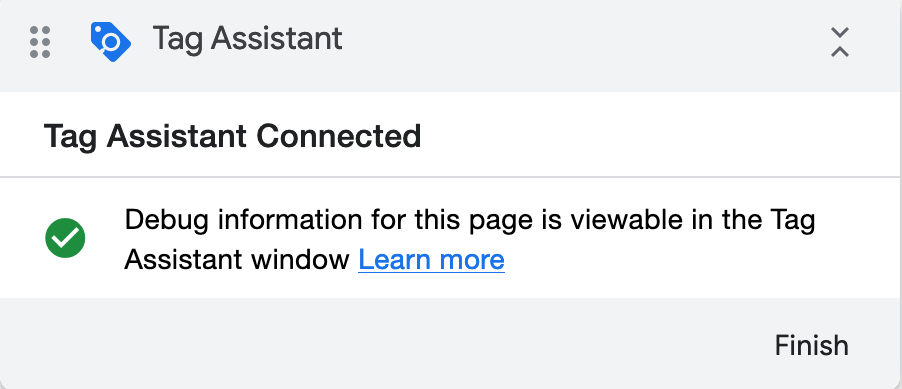
Tags Firedの欄に、先程設定したGoogleアナリティクスタグがあります。これはタグが動作していることになります。
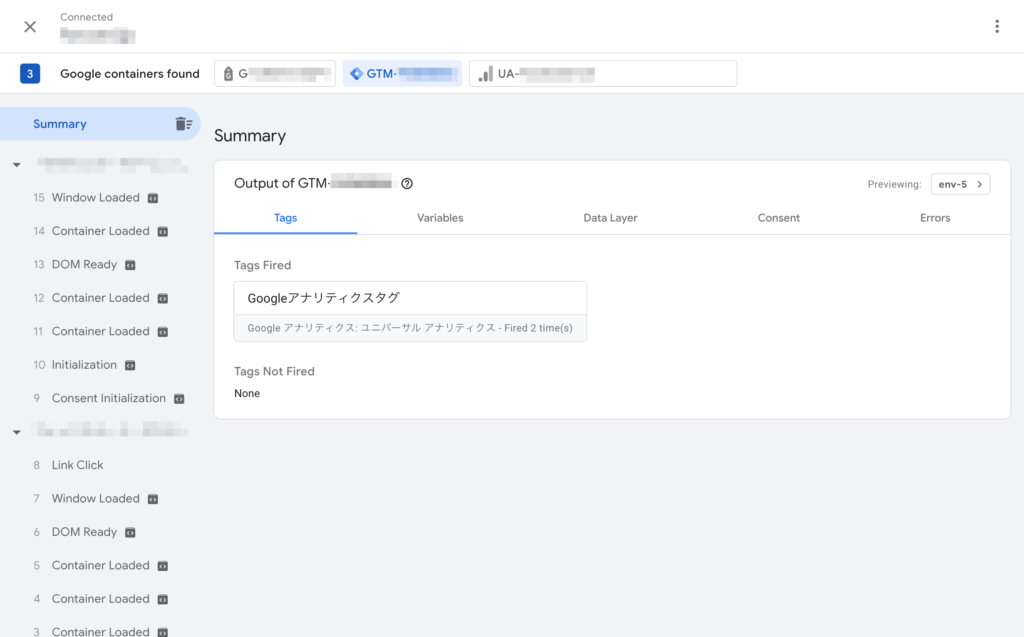
WordPressサイトを開き、別のページを開いてみると、Tags Firedに記載されている数値が2になり、2回タグが読み込まれたことがわかります。
これで動作確認は完了です。Tag AssistantにあるFinishをクリックし、プレビューを終了します。
変更内容を記録するために公開をクリックします。
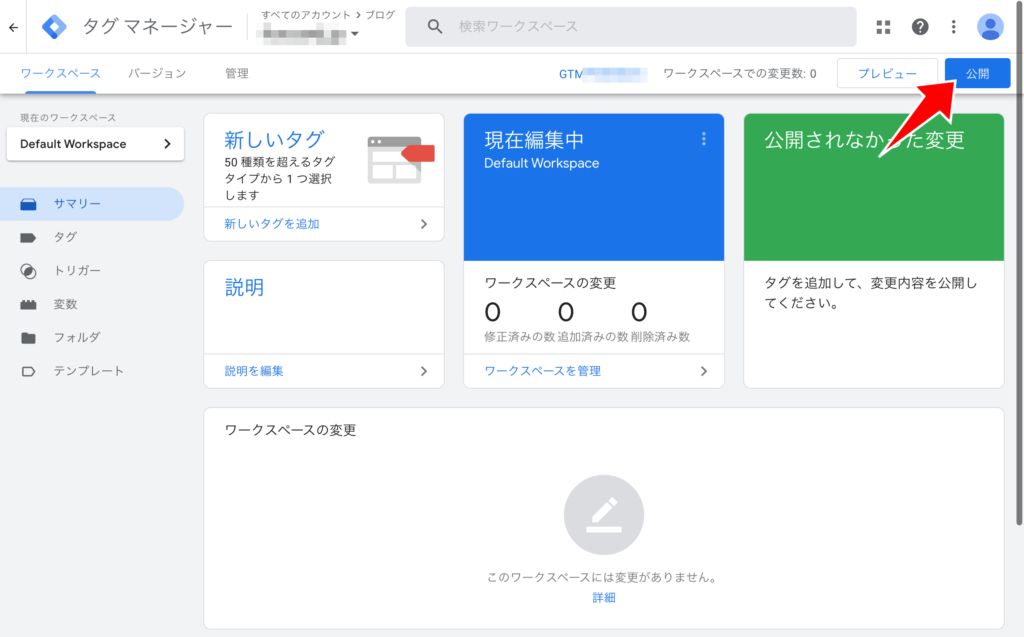
バージョン名とバージョンの説明を記載します。特に決まったルールはないため、自分でわかりやすい内容を記載します。
そして、公開ボタンを押して完了です。
